Home › Reviews › VEVOR 9011M Dissolved Oxygen Meter
VEVOR 9011M Dissolved Oxygen Meter Review (2026)
Disclosure: This page contains affiliate links. If you purchase through our links, we may earn a commission at no extra cost to you. See our affiliate disclosure.
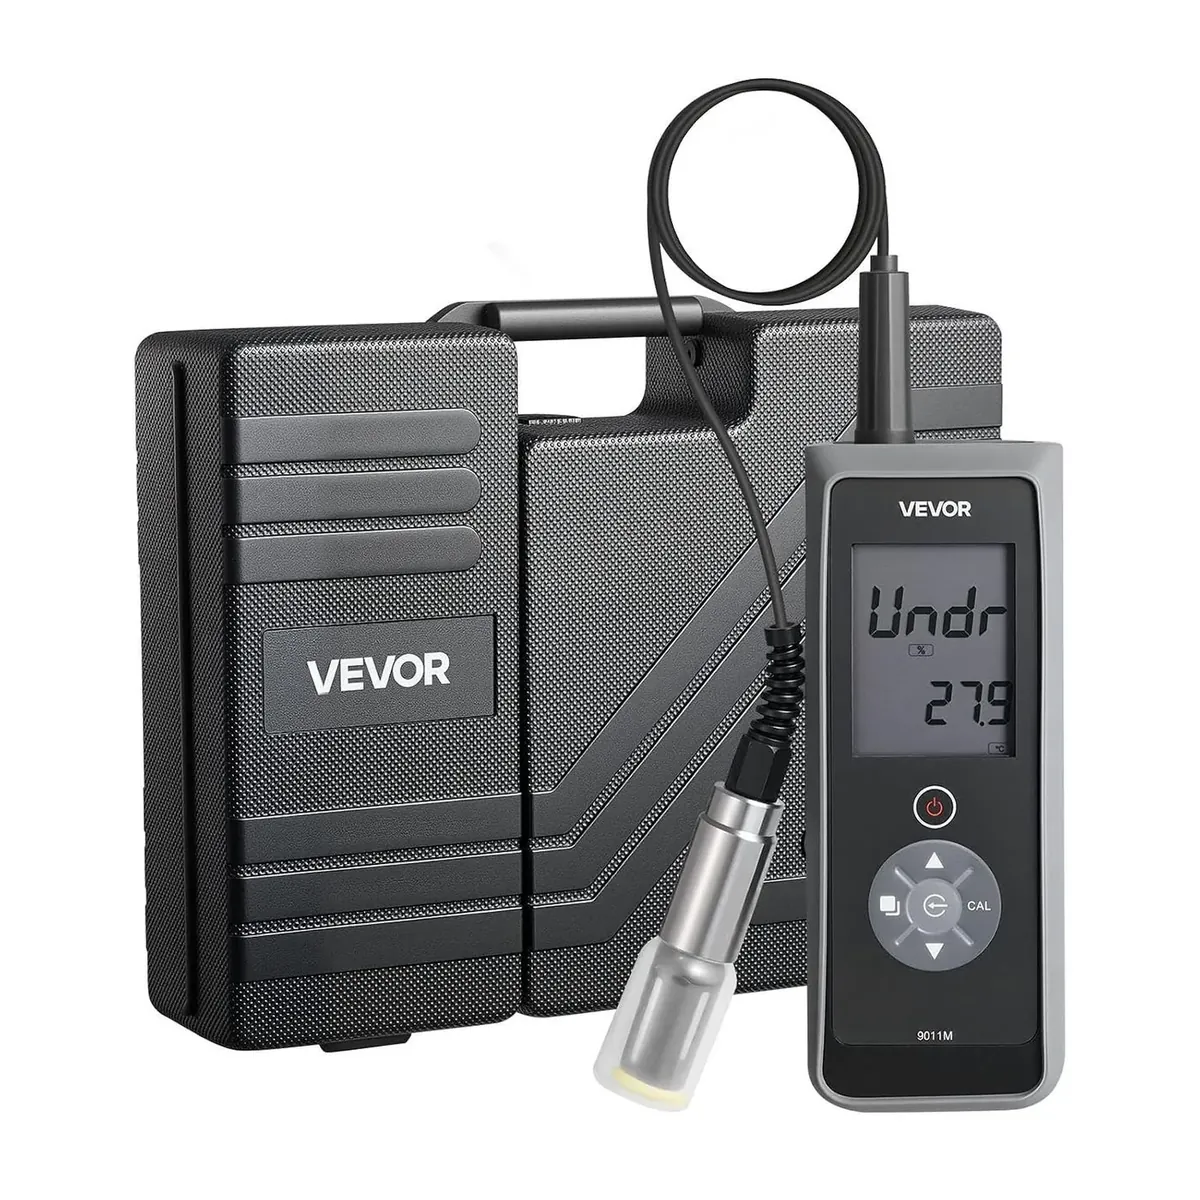
Best for: Aquaculture monitoring, wastewater treatment verification, environmental sampling, pond and reservoir management, and laboratory applications where wireless connectivity and large data logs are not required.
Step up to the 9011B if: you need Bluetooth/app connectivity, more than 50 data points per session, GLP-compliant timestamped records, or USB data export to PC.
0–200.0% sat.
(±0.10 mg/L)
±0.3°C
EEPROM
Contents
- How polarographic DO measurement works
- Temperature, pressure, and salinity compensation
- Full specifications
- Battery installation and replacement
- Probe preparation — every use
- 3-step calibration procedure
- Taking DO measurements
- 50-point datalogger — save, recall, delete
- 9011M vs. 9011B: which to choose
- Troubleshooting and error codes
- FAQ
How Polarographic DO Measurement Works
The 9011M uses the polarographic (Clark-type) electrode method — one of the most established DO measurement technologies in field and laboratory use. The probe contains two electrodes (cathode and anode) immersed in an electrolyte solution, sealed at the tip with a gas-permeable membrane. Oxygen molecules from the sample water diffuse through the membrane into the electrolyte. When a polarizing voltage is applied, these oxygen molecules are reduced at the cathode, generating a small electrical current proportional to the oxygen concentration at the membrane surface. The microprocessor converts this current to a mg/L or % saturation reading.
Temperature, Pressure, and Salinity Compensation
Dissolved oxygen solubility in water is affected by three variables — temperature, pressure, and salinity. The 9011M compensates for all three, which is essential for accurate readings across different environments.
| Variable | Effect on DO Solubility | 9011M Compensation |
|---|---|---|
| Temperature | ↑ Temperature → ↓ DO solubility. Warm water holds less dissolved oxygen than cold water. | Automatic (ATC) — built-in thermistor continuously measures sample temperature. Requires 10–15 min warm-up for accurate ATC. |
| Barometric pressure | ↑ Altitude (↓ pressure) → ↓ DO at 100% saturation. Sea-level 100% ≠ high-altitude 100%. | Manual — user sets pressure (600–1,100 mBar) during calibration. Default: 1,013 mBar (sea level). |
| Salinity | ↑ Salinity → ↓ DO solubility. Saltwater holds less DO than freshwater at identical T and P. | Manual — user sets salinity (0.0–40.0 ppt) during calibration. Default: 0.0 ppt (freshwater). |
Full Specifications
| Parameter | Specification |
|---|---|
| Dissolved Oxygen Measurement | |
| DO range (mg/L) | 0–20.00 mg/L |
| DO resolution (mg/L) | 0.01 mg/L |
| DO accuracy (mg/L) | ±0.5% FS = ±0.10 mg/L across 0–20 mg/L range |
| DO range (% saturation) | 0–200.0% |
| DO resolution (% sat.) | 0.1% |
| DO accuracy (% sat.) | ±0.5% FS = ±1.0% saturation |
| Measurement method | Polarographic (Clark-type) electrode |
| Calibration | 3-point: barometric pressure, 100% saturation, salinity |
| Calibration storage | EEPROM — survives power cycles |
| Temperature | |
| Temperature range | -6.0 to +46.0°C / 21.2 to 114.8°F |
| Temperature resolution | 0.1°C / 0.2°F |
| Temperature accuracy | ±0.3°C / ±0.6°F |
| Temperature sensor | Built-in thermistor (10 kΩ at 25°C) |
| Compensation and Environment | |
| Pressure compensation | 600–1,100 mBar (manual, set during calibration) |
| Salinity compensation | 0.0–40.0 ppt (manual, set during calibration) |
| Operating temperature | 0–50°C |
| Operating humidity | <90% RH |
| IP rating | IP67 — dust-tight, immersion to 1 m for 30 minutes |
| Instrument | |
| Battery | 9V (included) |
| Battery life | 250 hours |
| Auto shut-off | 30 minutes |
| Memory | 50 data sets (EEPROM non-volatile) |
| Probe cable length | 13.1 ft (4 m) |
| Probe connector | 6-pin waterproof |
| Connectivity | None |
| Noise rejection | 50/60 Hz AC |
| Included accessories | DO probe, electrolyte solution, membrane set, calibration bottle with sponge, carrying case, 9V battery |
| Source: VEVOR Official 9011M User Manual (9011m.pdf). IP67 waterproof seal maintained only when battery cover screws are fully tightened. | |
Battery Installation and Replacement
The 9011M runs on a single 9V battery rated for 250 hours. The battery compartment cover is secured with four screws and sealed for IP67 protection.
- Remove all four screws from the battery compartment cover with a screwdriver.
- Remove the battery cover and replace or insert the 9V battery, observing correct polarity.
- Replace the battery cover. Tighten all four screws completely before using the meter.
Probe Preparation — Required Before Every Session
Proper probe preparation is the most commonly skipped step and the most common source of inaccurate DO readings. The polarographic electrode requires fresh electrolyte solution and a correctly installed membrane cap to function.
Remove the guard cap (C)
Unscrew the outer protective guard cap from the probe end. The guard cap protects the membrane cap during storage and transport only.
Remove the membrane cap (B)
Unscrew the membrane cap from the probe tip. This cap contains the gas-permeable membrane through which oxygen diffuses into the electrolyte.
Fill with electrolyte solution
Fill the membrane cap with the provided electrolyte solution. Do not overfill — excess electrolyte will be expelled when the cap is reinstalled, which is normal.
Reinstall membrane cap and rinse
Twist the membrane cap back onto the probe body. Rinse the assembled probe thoroughly with distilled water to remove any electrolyte residue from the outside. Wipe the probe end dry.
Reinstall guard cap
Twist the guard cap back onto the probe over the membrane cap.
Prepare calibration bottle — critical clearance rule
Place 5–6 drops of clean water (tap, distilled, or deionized) into the sponge inside the calibration bottle. Drain any excess by inverting briefly. Slide the probe into the calibration bottle. The membrane must not touch the sponge — maintain at least 5 mm clearance at all times. Contact between membrane and sponge produces false readings and may damage the membrane.
3-Step Calibration Procedure
Calibrate before each measurement session, after replacing the membrane or electrolyte, and when readings seem inconsistent with expected values. Calibration is stored in EEPROM — no recalibration is needed after a power cycle.
Power on and warm up — 10 to 15 minutes
Turn on the meter with the probe connected. Place the probe in the prepared calibration bottle (5–6 drops on sponge, 5 mm+ clearance). Wait 10–15 minutes for the DO% and temperature readings to fully stabilize.
Select DO% mode and enter calibration
Press Mode until the meter displays DO% (not mg/L). Air calibration must always be performed in % saturation mode. When readings are stable, press CAL. The CAL icon appears. The main display shows the current barometric pressure (default 1,013 mBar).
Set barometric pressure
If you are at altitude or weather pressure differs from 1,013 mBar, use Up/Down keys to adjust. At sea level in standard weather, accept the default. Press Enter to confirm and advance. (Pressing Mode instead of Enter cancels all changes.)
Confirm 100% saturation
The meter displays the current DO reading in the secondary display. Wait for stabilization. Press Enter to save the 100% saturation calibration value. The meter advances to salinity.
Set salinity compensation
Default is 0.0 ppt (freshwater). For freshwater, press Enter to accept. For saline or brackish samples, use Up/Down to set the approximate salinity in ppt. Press Enter. The meter returns to Measurement mode — calibration complete.
Taking DO Measurements
- Press Mode to select the desired display unit: DO% saturation or DO in mg/L.
- Rinse the probe with distilled water before immersing in the sample.
- Submerge the probe fully — the membrane must be completely immersed.
- Gently move the probe in the sample to prevent oxygen depletion at the membrane surface. This is especially important in stagnant water.
- Wait 1–3 minutes for the reading to stabilize. The main display shows DO; the secondary display shows temperature.
- Press Enter to save the reading to memory (optional — up to 50 readings).
50-Point Datalogger — Save, Recall, Delete
| Operation | Procedure | Notes |
|---|---|---|
| Save | In Measurement mode, press Enter. Save icon + site number flash briefly. | Full icon appears when all 50 sites occupied — delete before saving new readings. |
| Recall | Press Mode to cycle to Recall interface → Enter to enter Recall mode → Up/Down to scroll readings → Mode to exit. | No timestamp on stored readings — only site number and value. (Timestamps require the 9011B.) |
| Delete All | Mode → Delete interface → Enter → Up/Down to select Delete All → Enter to confirm. | All 50 records erased immediately. |
| Delete Each | Mode → Delete interface → Enter → Up/Down to select Delete Each → Up/Down to navigate to target record → Enter to delete → Mode to exit. | Remaining records automatically shift up one slot in site numbering. |
9011M vs. 9011B: Which to Choose
| Feature | 9011M | 9011B |
|---|---|---|
| DO measurement range | 0–20 mg/L / 0–200% sat. | 0–50 mg/L / 0–500% sat. |
| DO accuracy (low range) | ±0.5% FS (±0.10 mg/L) | ±2% reading or ±0.2 mg/L (whichever greater) |
| Memory | 50 data sets | 750 data sets with GLP date/time stamps |
| Bluetooth / App | No | Yes — iOS & Android app, GPS tagging, cloud |
| PC data export | No | Yes — USB-C to PC, CSV export |
| Power | 9V battery, 250 hours | Rechargeable battery, 50+ hours (Bluetooth off) |
| Calibration method | 3-step (pressure, saturation, salinity) | 1-step air (pressure + salinity set in System Setup) |
| System setup menu | Limited | 8-item menu: units, date/time, reminders, auto-shutoff |
| Price tier | Lower | Higher |
| GLP compliance | No timestamp on records | Yes — date/time stamp on all 750 records |
Choose the 9011M when budget is the primary constraint, your DO readings will always be below 20 mg/L, 50 data points per session is sufficient, and connectivity/data export are not needed.
Choose the 9011B when you need timestamped GLP records, Bluetooth wireless data access, PC data export, more than 50 data points per session, or DO measurements above 20 mg/L (including oxygen supersaturation in aquaculture).
Troubleshooting and Error Codes
| Display / Problem | Cause | Resolution |
|---|---|---|
| OvEr (main display) | DO reading exceeds 20 mg/L maximum range | Check that probe is not in air or in supersaturated water above range. Verify membrane and electrolyte are properly installed. Consider the 9011B (0–50 mg/L range) if measuring oxygen-supersaturated aquaculture water. |
| Undr (main display) | DO reading below 0 mg/L | Check membrane cap installation — a loose or cracked membrane allows electrolyte leakage. Check that electrolyte is present and correctly filled. Clean cathode and anode surfaces if contaminated. |
| Ovr (secondary display — temperature) | Sample temperature above 46°C (maximum range) | Bring sample temperature below 46°C before measuring, or allow the probe to acclimate if the temperature reading is from ambient rather than sample conditions. |
| Udr (secondary display — temperature) | Sample temperature below -6°C (minimum range) | Bring sample temperature above -6°C. At near-freezing temperatures, DO readings may also be less accurate due to electrolyte behavior near freezing. |
| Will not turn on / BAT symbol | Battery depleted or inserted with wrong polarity | Install a fresh 9V battery observing correct polarity. Tighten all four battery cover screws. |
| Readings drifting downward in stagnant sample | Oxygen depletion at membrane surface | Gently move probe during measurement. This is normal behavior for polarographic electrodes, not a meter fault. |
| Will not calibrate / CAL fails | Insufficient warm-up; incorrect pressure or salinity input; unstable environment (air currents affecting probe) | Ensure 10–15 minute warm-up is complete. Shield probe from air currents during calibration. Verify barometric pressure entry is correct for your location. |
| Readings lower than expected | Electrolyte not replenished; membrane fouled; air bubbles on membrane | Replace electrolyte. Clean or replace membrane cap. Check for bubbles on membrane surface and shake gently to dislodge. |
FAQ
How do I calibrate the VEVOR 9011M?
Three-step wet-sponge air calibration: power on with probe for 10–15 minute warm-up in the calibration bottle (5–6 drops of water on sponge, 5 mm+ probe clearance). Press Mode to select DO% mode. When stable, press CAL. Set barometric pressure → Enter. Wait for 100% saturation stability → Enter. Set salinity (0.0 ppt for freshwater) → Enter. Meter returns to Measurement mode. Full procedure above.
What is the accuracy of the 9011M?
±0.5% of full scale. At 0–20 mg/L, that is ±0.10 mg/L absolute accuracy across the full range. At 0–200% saturation, that is ±1.0% saturation. Note this is a full-scale spec — at low readings the percentage uncertainty relative to the reading is higher than at high readings.
Why does the probe need a 10–15 minute warm-up?
The polarographic electrode and thermistor temperature sensor must reach thermal equilibrium with the calibration environment. Calibrating before equilibrium is reached produces a shifted baseline that introduces systematic error into every subsequent measurement.
Can the 9011M measure dissolved oxygen in saltwater?
Yes — salinity compensation adjustable from 0.0 to 40.0 ppt during calibration. Set salinity to match your sample type for accurate readings. Default is 0.0 ppt (freshwater).
What's the difference between the 9011M and 9011B?
The 9011B adds Bluetooth + iOS/Android app, 750-point GLP datalogger with timestamps, USB-C PC data export, extended DO range (0–50 mg/L / 0–500% saturation), rechargeable battery, and 8-item system setup. The 9011M has 50-point non-timestamped memory, no connectivity, 9V battery, and a lower price point. See the full comparison table above or the 9011B review.